Maple Tree Tapping and Syrup Making
This post provides simple instructions for tapping trees and making your own maple syrup at home. A set of five (5) taps can be purchased for around $20 from your local farm supply store. Kits are also available online and often include filters and an instruction manual. This project can be done at home on a single tree, and produce enough syrup to last you the whole year. Updated March 24, 2023.
DIY Difficulty
On a scale from one (very easy) to five (difficult), Geo Forward rates this “do-it-yourself” project as a 1 (very easy).
Materials You Will Need:
- At least one tap, also known as a “spile”
- Drill with 5/8” drill bit
- Hammer or mallet
- Food-grade plastic tubing
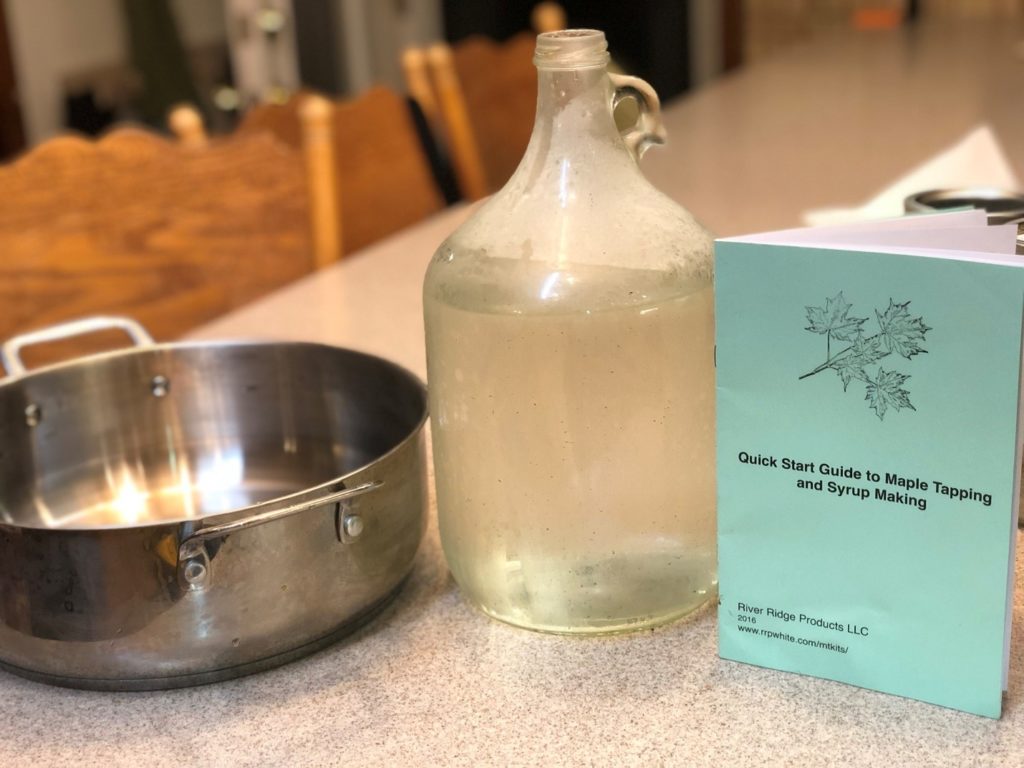
- Collection container with lid
- Pot and cooking surface
- Syrup filters (similar to coffee filters)
Tap the Tree
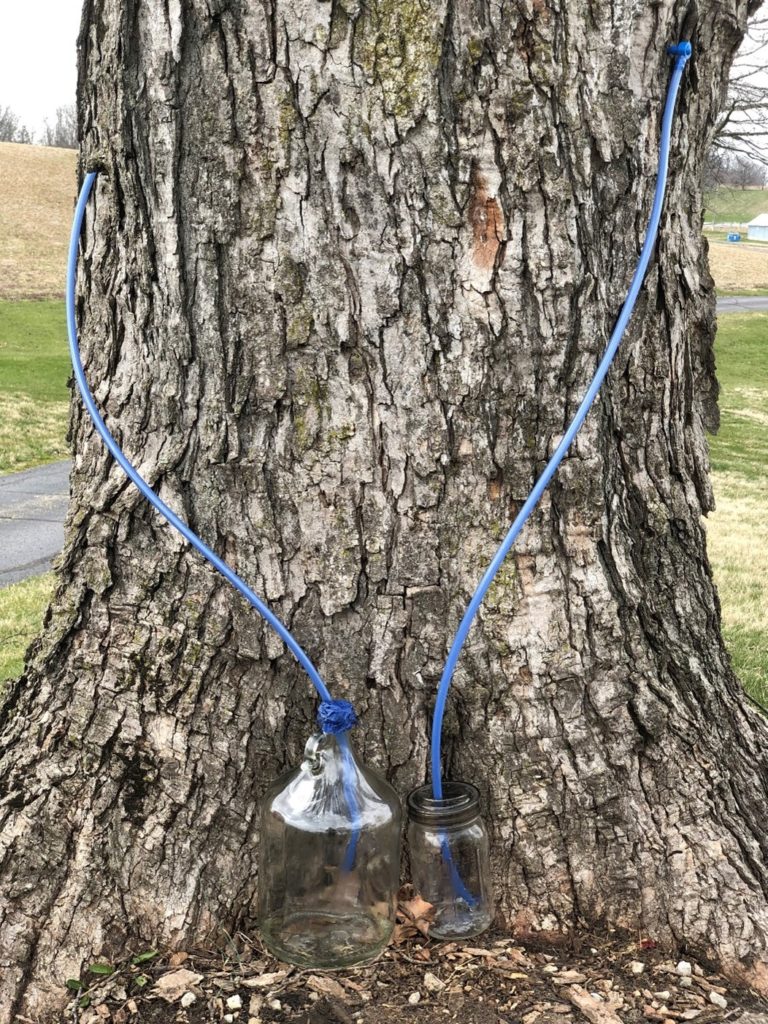
Installing the tap is easy, and we recommend purchasing a kit that includes the taps, tubing, and drill bit. That way you don’t have to worry about sizing the hole and getting the right size tubing. An all-inclusive kit makes this very simple for you. Just attach your 5/8” drill bit and use a piece of tape to mark 1.5” as this is how far into the tree you will need to drill. Choose a location on the southern side of the tree, above a large root and/or beneath a large branch if possible. Drill the hole anywhere from 2- to 4- feet off the ground, and make sure your tubing is long enough to go all the way into your container. Advance the drill bit 1.5” into the tree. Gently tap in your spile using a hammer or mallet. Run the tubing down to your collection container. We recommend large mason jars with a “sip and straw” lid as these are the perfect size opening for your tube. You can also use any other container with a lid to keep out rain and debris. Keep in mind that you will be collecting more than one gallon per day during peak sap flow.
Collect the Sap
Sap will accumulate quickly when temperatures drop below freezing overnight, and rise into the 40’s or 50s during the day. It should be clear and look like water. Note that the color can change slightly from day to day and sap may be slightly tinted yellow. Sap that looks or smells off, is cloudy, or has been allowed to sit out in warm temperatures should not be used. Collect the sap daily and store it in the refrigerator until you can boil it.
Cook the Sap
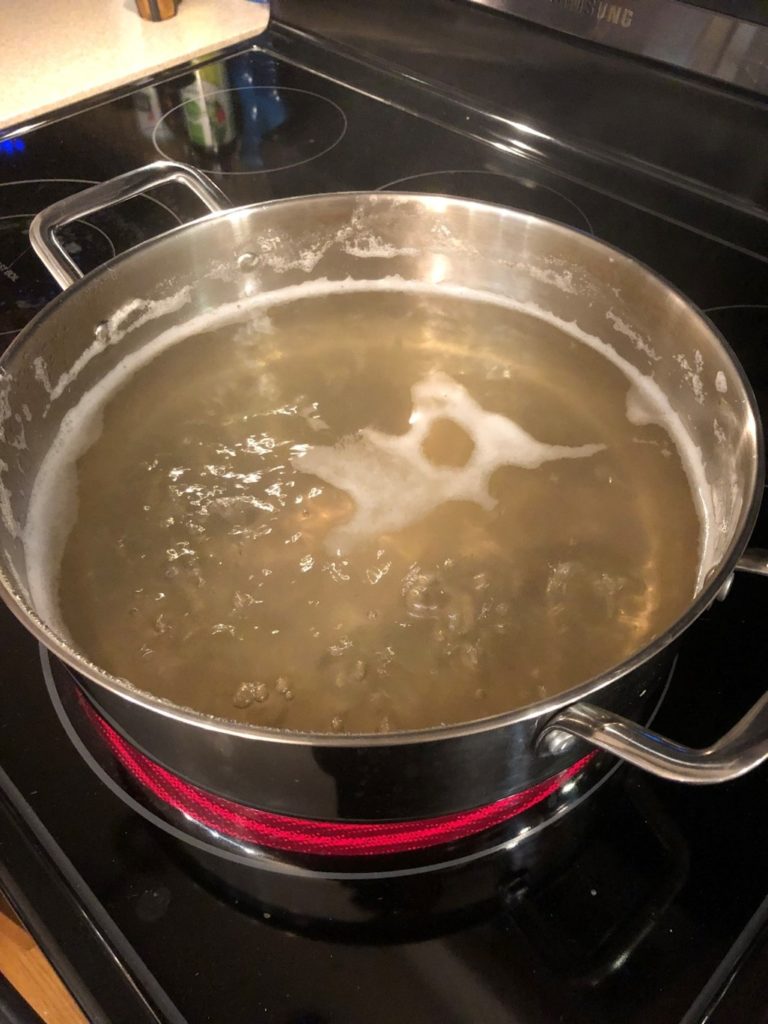
For large batches (more than a couple of gallons) we recommend cooking outside over a fire. But for small-scale production, you can cook your sap in the kitchen in any pot right on your stovetop. As the water boils off, the sap will take on a darker color, and will become increasingly sweet as the sugar is consolidated into less and less liquid.
Filter the Sap
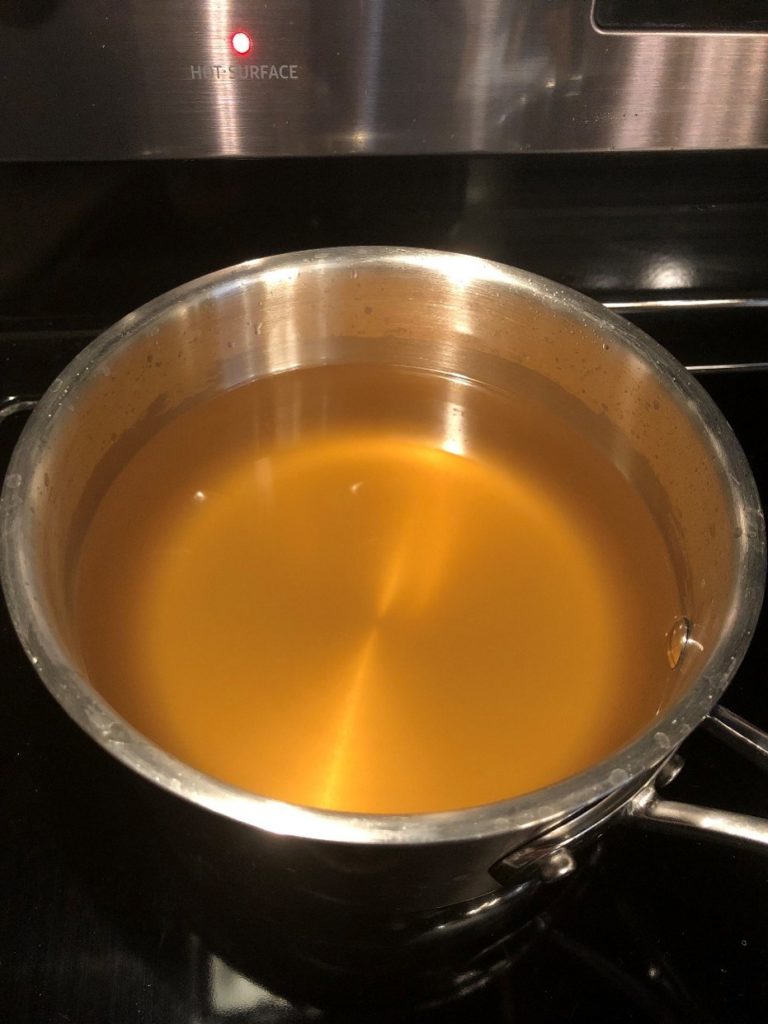
When the amount of liquid is reduced by about 80%, pour the liquid through a filter into a smaller pot. You are now ready to finish the boiling process and transform your sap into syrup.
Finish the Syrup
Closely monitor the sap as it thickens and darkens into syrup. You can taste-test until your syrup becomes the desired sweetness and consistency. Keep in mind that if it is not boiled long enough, the sugar content will be lower and the syrup will not have as long of a shelf-life. But if you boil it too long, the sugar content will become so high that it may crystalize upon standing. After one or two batches you will have the experience to know just how to finish the syrup to your liking.
Filter the Finished Syrup
Pour your syrup through the filter again and into your storage container. A mason jar or empty glass syrup bottle works well for storage. Make some pancakes and enjoy the fruits of your labor!

