What is the Property Condition Assessment Process?
The property condition assessment process entails an expert’s evaluation of land development, as well as a report that simplifies its findings, conclusions, and estimated costs for repair. And because every property has a unique set of features, a custom checklist applies to each project. Nonetheless, the overall scope of work conforms to an industry standard, which is written in the ASTM E 2018-15 Guidelines. Updated April 17, 2024.
1. Coordinate site access into all parts of the property (including the roof).
The first task in the property condition assessment process is to obtain legal site access. To illustrate, in order for inspectors to legally enter and inspect a property without trespassing, they must obtain written consent from the existing property owner.
2. Interview current tenants and landowners for property history facts.
Another preliminary task of the property inspection report process entails an interview with the current occupiers of the land. An interview is a nominal opportunity to learn about site-specific characteristics and issues up-front. Moreover, information from the interview can help PCA inspectors optimize the physical inspection checklist before arriving at the site.
3. Conduct a file review of government agency files via the Freedom of Information Act.
Another set of information that is helpful to review prior to the physical inspection is building department files. Local building departments retain records on properties that can tell a story about property conditions. For example, a property may have multiple structures on the premises. However, the building department may only have records of one building permit. As a result, the property condition assessment process can identify the presence of an illicit building without proper permits. In fact, these files may be accessible from a recent Phase 1 Environmental Site Assessment on the property.
4. Review any available aerial images of the site, and map out the inspection itinerary.
Before commencing with the physical inspection, it also helps to study the subject site using aerial imagery. Modern and historical aerial imagery can help identify parts of the property that may be unnoticeable when walking through. Copies of historical and current aerial images, as well as fire insurance maps, may be accessible via the Phase 1 Environmental Site Assessment process.
5. Prepare a site-specific inspection checklist, using the ASTM standard and preliminary information.
After consolidating information from the interview, file review, and aerial image review processes, a site-specific checklist is in order. The checklist must meet all the criteria of the ASTM standard. And provide a general order of items to inspect when on the property. Additional line items are required for those items that are unforeseeable, and apparent once onsite.
6. Conduct the site inspection, satisfying all ASTM criteria of the Property Condition Assessment Process.
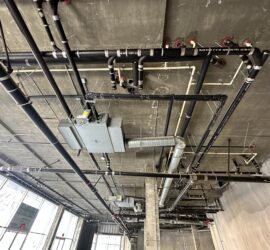
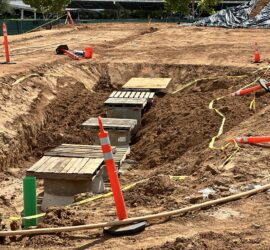
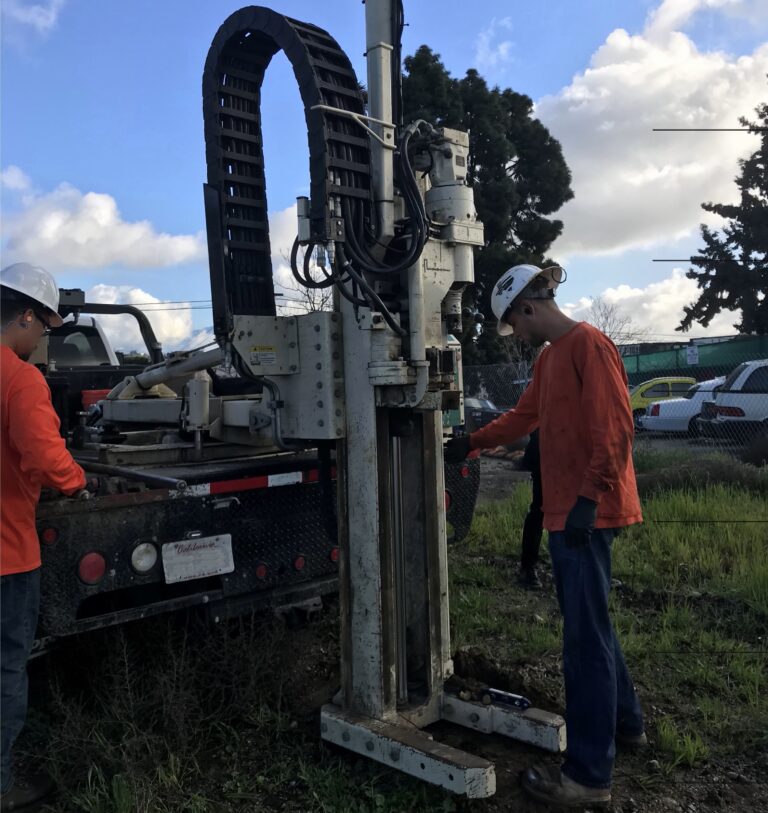
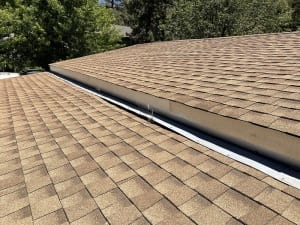
The site inspection is a vital part of the property inspection report process. It is during this task that the PCA inspector walks the property, and examines all structural, and cosmetic aspects of the lot. Some of the many components to inspect are the plumbing, roofing, methane mitigation system, retaining walls, fire sprinklers, and more. In fact, there may be hundreds of other items to inspect during a property condition assessment.
7. Prepare a final report detailing all findings and observations, as well as cost estimates for necessary repairs.
Lastly, the PCA inspector prepares a professional report for the Client. The report summarizes all of the findings and is supported with photographs, a site map, and field notes. The final report also provides a simple spreadsheet that lists all potential deficiencies on the property, as well as a reasonable cost estimate for the repair. The final report is what Clients and their affiliate insurance companies and lenders utilize to assess the condition and risk of the property.


